
The Step-by-Step Bone Density Test Procedure: What Every Patient Should Know
Discover a detailed, step-by-step overview of the bone density test procedure. Learn how the test is performed, what to expect at each stage, and how the results can influence your osteoporosis management plan. This expert-guided guide helps Americans understand the importance of early detection for maintaining strong bones and preventing fractures.
Introduction
The bone density test procedure is a vital diagnostic tool in detecting osteoporosis and assessing fracture risk. For many patients, understanding what occurs during the test can ease anxiety and prepare them for a smooth experience. This guide offers an in-depth look at each step of the process, combining medical expertise with practical advice to ensure patients know what to expect from start to finish.
Why Is a Bone Density Test Necessary?
Early diagnosis of bone health issues allows for timely intervention, reducing the risk of fractures that can significantly impair quality of life. The test measures mineral content in the bones, providing insights into bone strength even before symptoms like fractures occur. It is especially recommended for women over 65, men over 70, or individuals with high risk factors such as family history or previous fractures.
Preparing for Your Bone Density Test
Preparation is crucial for accurate results. Patients should:
- Avoid calcium supplements and certain medications as advised by their doctor, typically 24-48 hours prior.
- Wear comfortable, metal-free clothing to prevent interference with the X-ray imaging.
- Inform the technician about any recent imaging procedures involving contrast dye.
Detailed Walkthrough of the Bone Density Test Procedure
Arrival and Check-In
Upon arriving at the imaging facility, you will check in and complete any necessary paperwork. Staff will explain the procedure, answer questions, and prepare you for the test.
Positioning and Immobilization
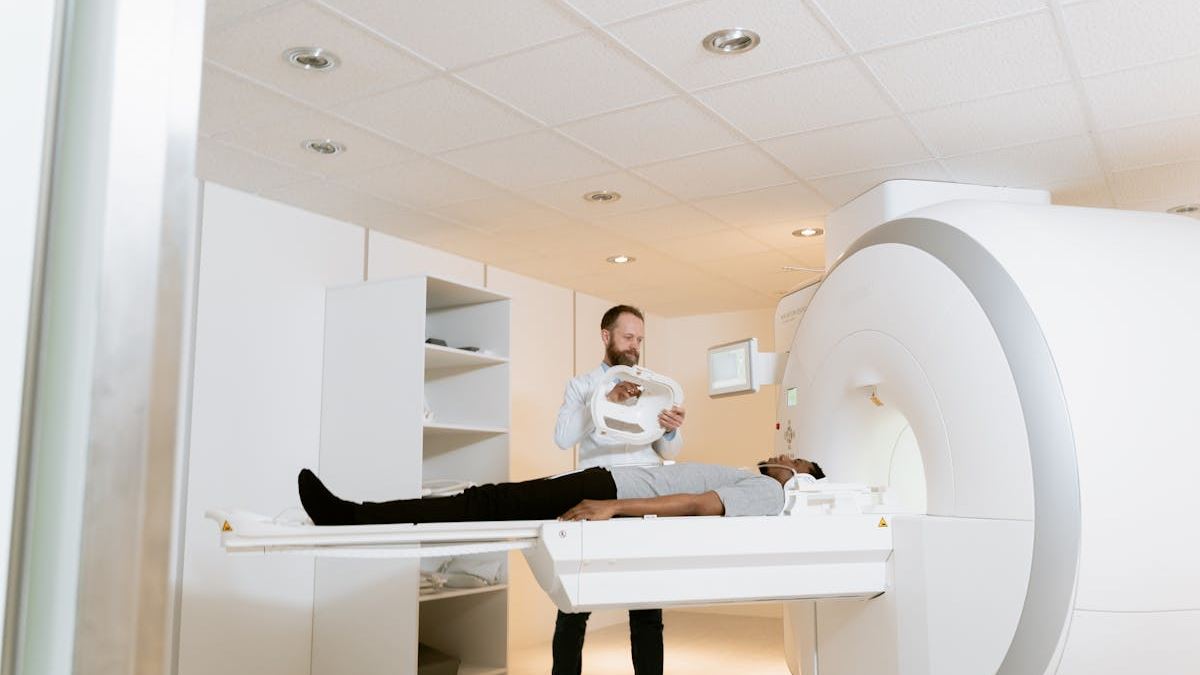
The patient lies comfortably on the scanning table, often in a specific position depending on the test area. Straps or pillows are used to keep the body still, which is vital for obtaining precise measurements.
Executing the Scan
The DXA scanner's arm moves over your body part, emitting low-dose X-rays. The process takes approximately 10-30 minutes, during which you should remain still. The scanner's software collects data and computes bone mineral density metrics in real time.
After the Scan
Once completed, you can resume your usual activities immediately. The radiologist or specialist reviews your results, which are typically available within a few days, and discusses them with you in a follow-up consultation.
Understanding Your Results
Results are expressed as T-scores and Z-scores. A T-score compares your bone density to that of a healthy young adult, with scores below -2.5 indicating osteoporosis. Z-scores compare your bone density to others of your age, gender, and size. Based on the results, your healthcare provider will recommend lifestyle changes, medications, or further testing.
Expert Commentary and Real-Life Application
Dr. Michael Johnson, a renowned osteoporosis specialist, notes that timely bone density testing can be a game-changer. An early diagnosis allows for interventions, such as medications or dietary adjustments, that can strengthen bones and prevent fractures. Patients with a family history of osteoporosis should prioritize regular screening.
Final Thoughts: Emphasizing Bone Health
Understanding the bone density test procedure empowers patients to take an active role in their skeletal health. Regular testing, especially for those at higher risk, can facilitate early detection and better outcomes, promoting long-term health and mobility.